A Comprehensive Guide for DIY Enthusiasts
If you’re experiencing issues with your home’s heating system, it might be time to learn how to install a heat pump. This detailed guide will walk you through the step-by-step process, ensuring that even those with minimal mechanical knowledge can undertake this task successfully. By following these instructions, you’ll save money and gain valuable experience in home maintenance.

Installing the Heat Pump System
First, you need to remove the old system, once this is done, it is time to install the replacement. Let’s look at this vital part of heat pump installation.
Remove the Interior Evaporator Coil
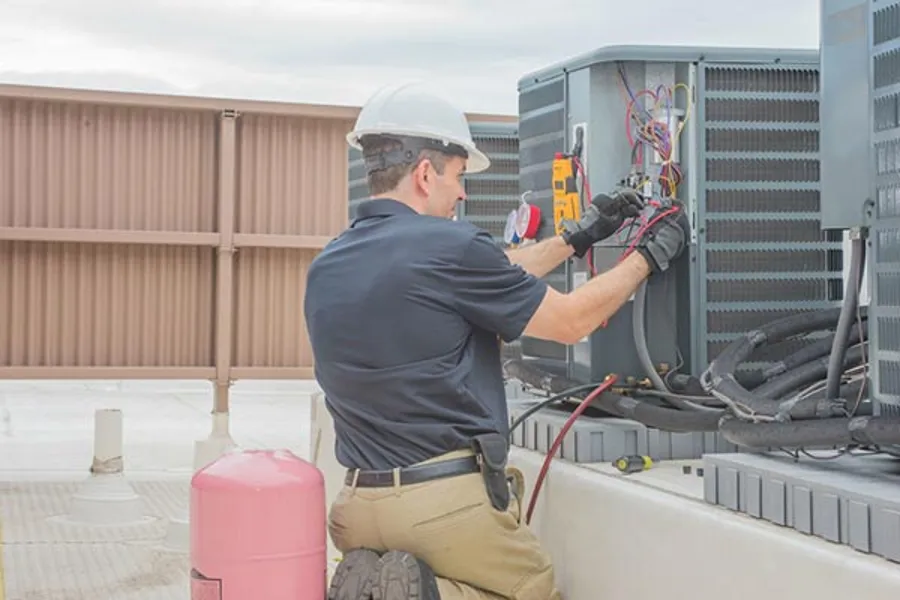
In your home, the interior evaporator coil connects to the refrigerant lines of the heat pump system. Experts typically remove this during the installation process. There are two variations of evaporator coils used, cased and uncased. The latter is particularly sensitive, meaning it needs a few additional steps to protect it pre-installation. Most experts suggest using a cased coil since the casing is already part of the product.

Line Sets, Wiring, and Valves
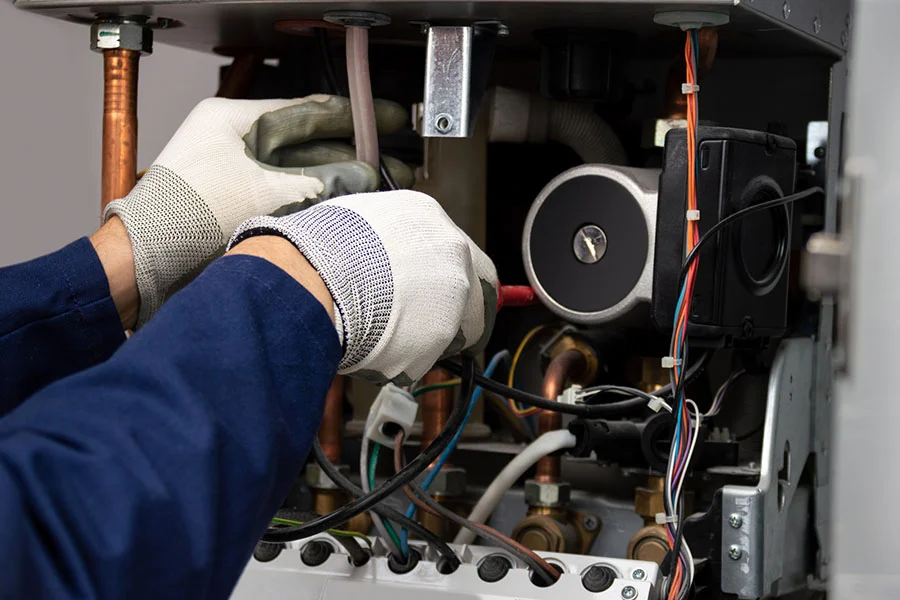
After the evaporator coil replacement, the installers will then remove the pre-existing refrigerant lines. These copper lines transfer refrigerant back and forth between the heat pump and your home. The contractor will weld the lines to the new heat pump to make sure there are no leaks. The thermostat wiring will then be inspected, and upgrades will be done if deemed necessary. There is also a valve that allows the system to switch back and forth from heating to cooling. The heating installation expert may check to see if the valve needs replacing.
How to Install a Heat Pump: Final Thoughts
You now know how to install a heat pump, which can save you significant repair costs. If you encounter any difficulties or prefer professional assistance, feel free to contact us at Comfort Pro's Heating & Air. We’re happy to help! Call us at (509) 215-4400 for expert services in Yakima, WA.